If you are looking for a fun activity to do with your kids without having to go to the store to buy supplies this puffy chalk paint is so much fun! This unique take on traditional sidewalk chalk will keep your kids busy for hours and of course (like all of my DIY’s) is made up of ingredients you have in your pantry!
Some friends and i teamed up to bring you some DIY outdoor activities! When you’re done reading this post be sure to go check out what they have come up with! I will link them all below.
Sometimes I feel like we have tried every activity under the sun so I am always on the hunt for new things to try with my kids. The best part? It only took 5 minutes to make! Plus it was easy for Macy to help me make! This recipe is washable however, I suggest washing it off right after you use it to make sure it doesn’t stain! I’m sure the sun would bleach it after awhile but better safe than sorry!
You can easily double this recipe if you are wanting to do more colors. The bottles I used were pretty small so this was enough to fill about 4 of them but if you are using regular sized condiment squeeze bottles this would make about two bottles.
What you’ll need:
2 C. Flour
2 C. Water
2 tbs dish soap
Food coloring
Squeeze bottles
STEP ONE:
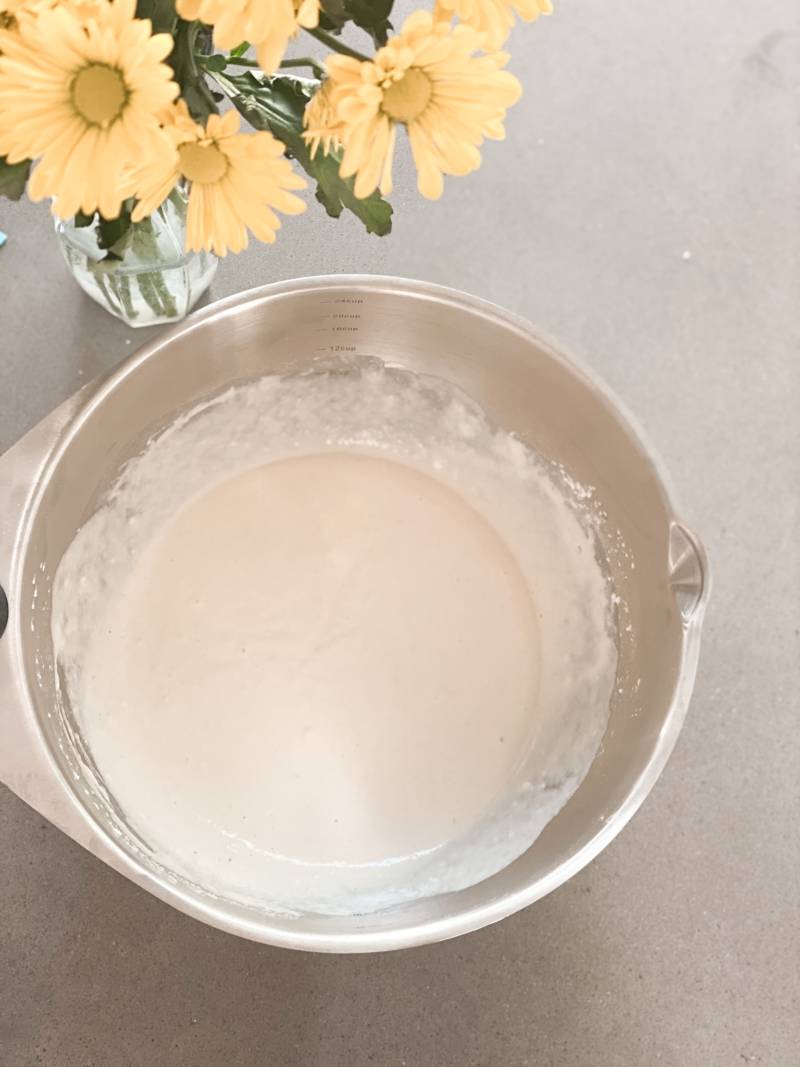
Whisk together the flour and water until there are no clumps.
This is important because if there are any clumps it will clog the bottle while you are using it.
Then stir in the dish soap.
STEP TWO:
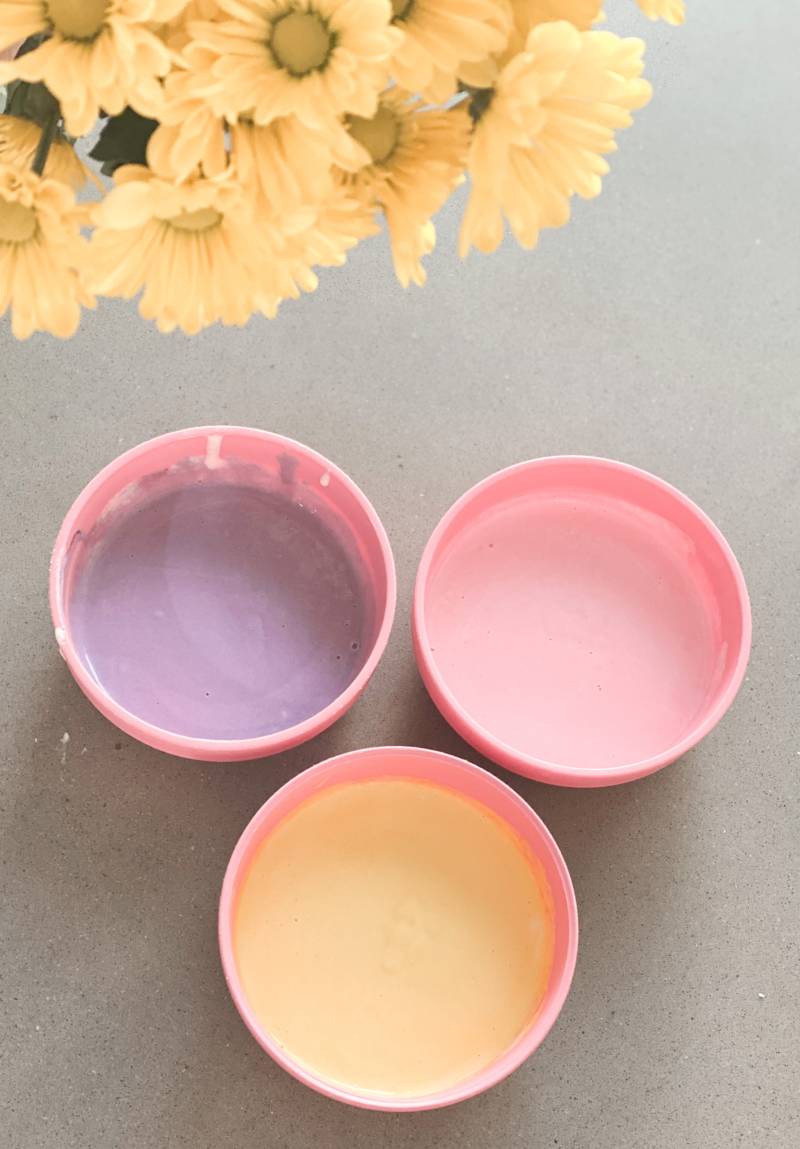
Separate the mixture into 3-4 bowls, then add a few drops of food coloring to each bowl and mix. If you don’t have food coloring on hand you can use washable paint, or grate chalk into the mixture. Just the thought of grating chalk makes me cringe so I decided to find an alternative method that wasn’t equivalent to nails down a chalk board….eeek!
Z a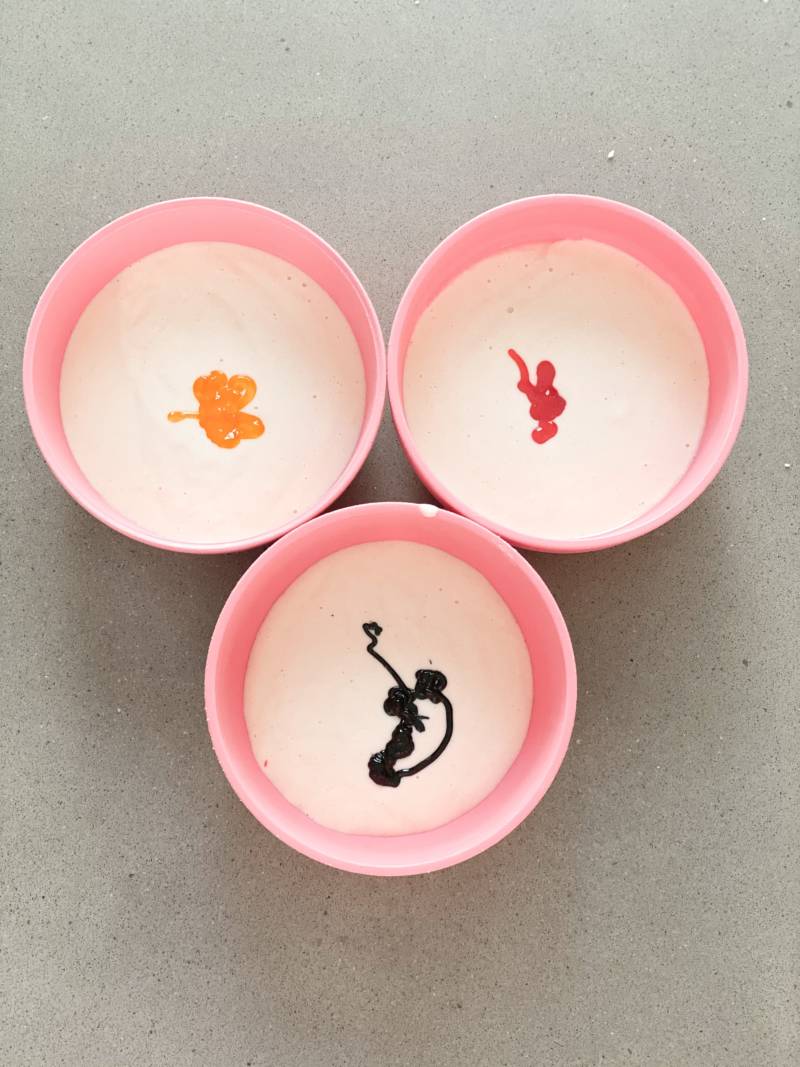
STEP THREE:
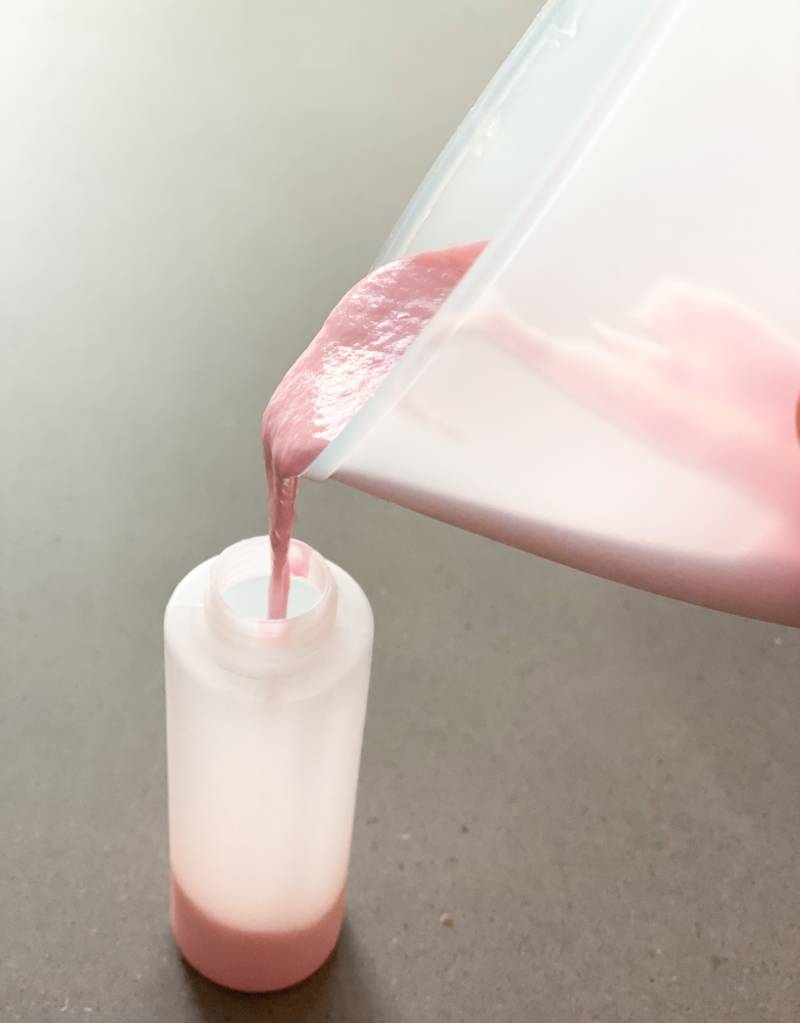
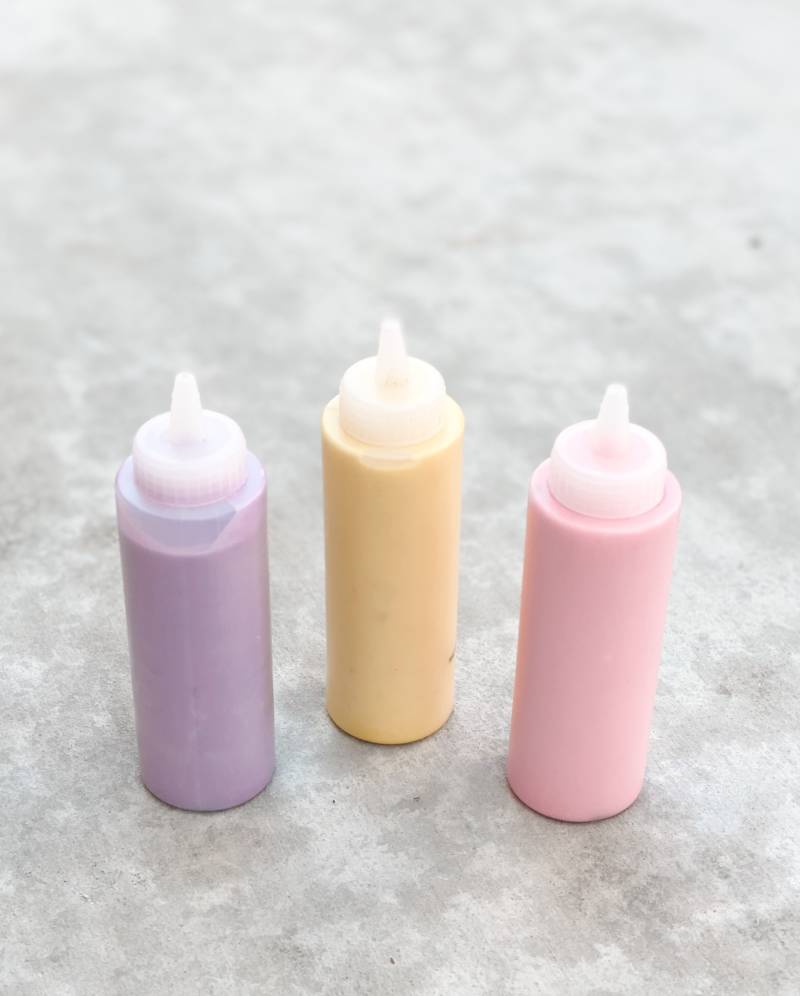
Pour the mixtures into the bottles.
I originally used a funnel for this part but it was taking too long so I switched to a silicone measuring cup instead and that was much more efficient! I used bottles I had saved from when we made tie die shirts. I will link some bottles here if you don’t have anything on hand you can use. You will end up finding so many uses for these so I think they’re worth the investment if you don’t already have some on hand!
STEP FOUR:
HAVE FUN!
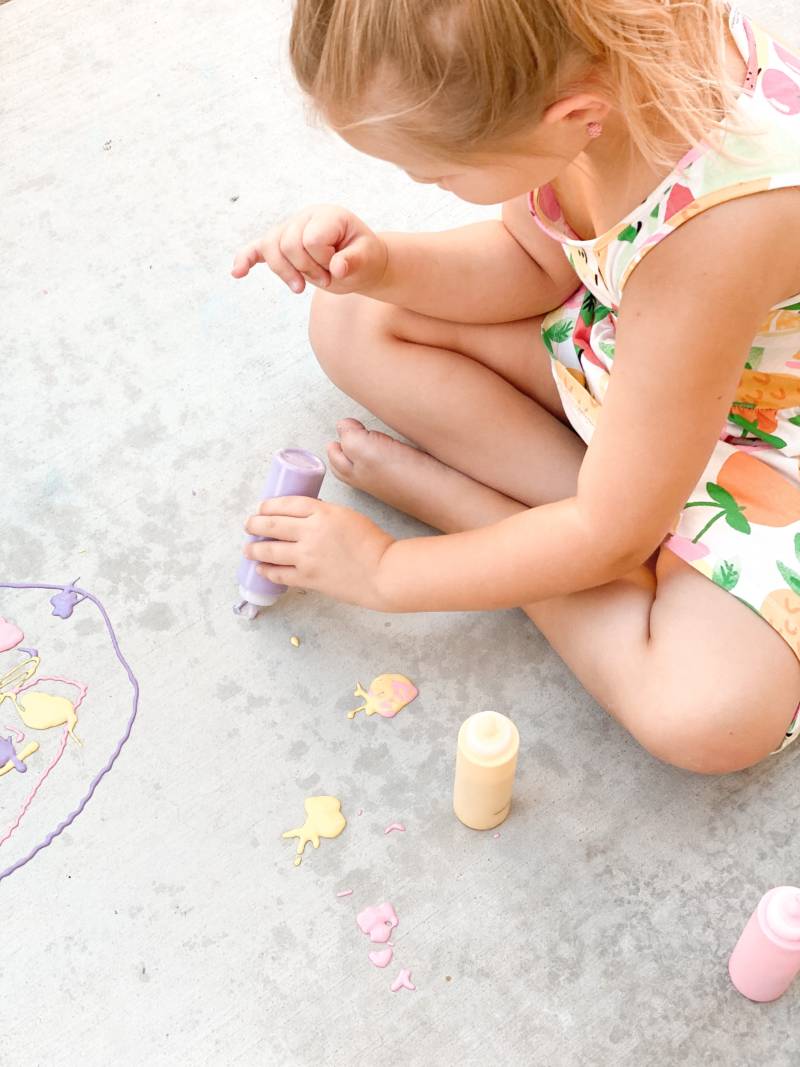
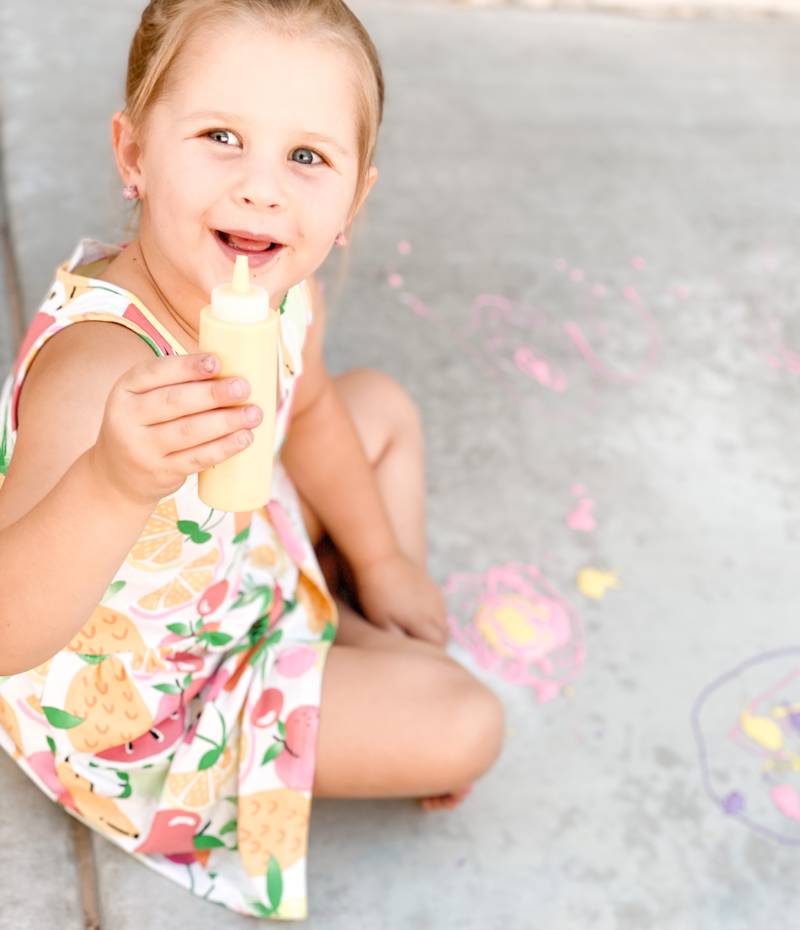
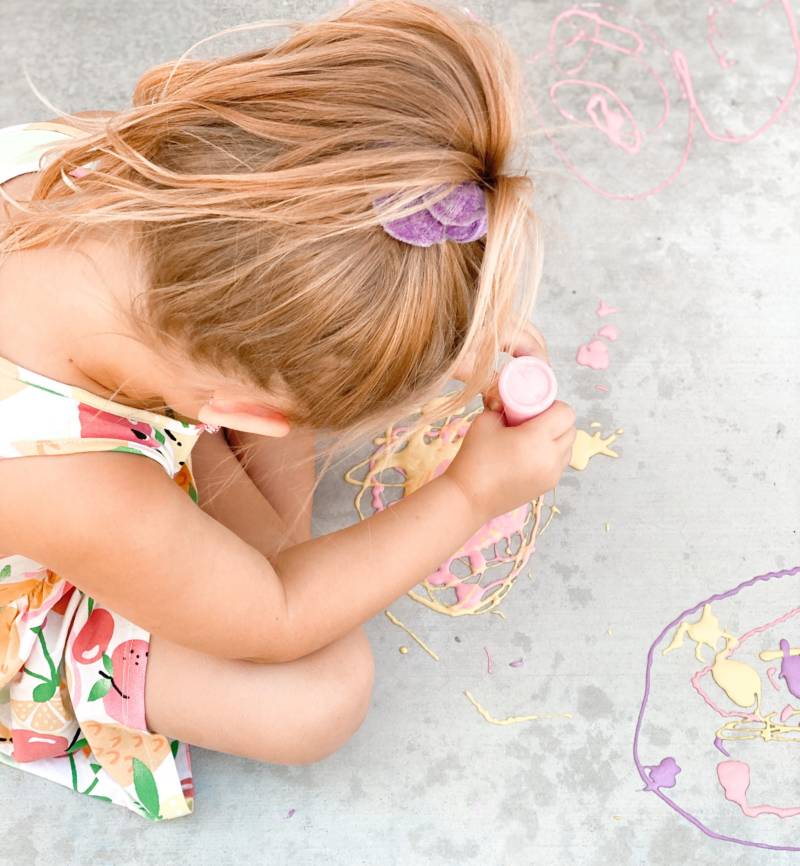
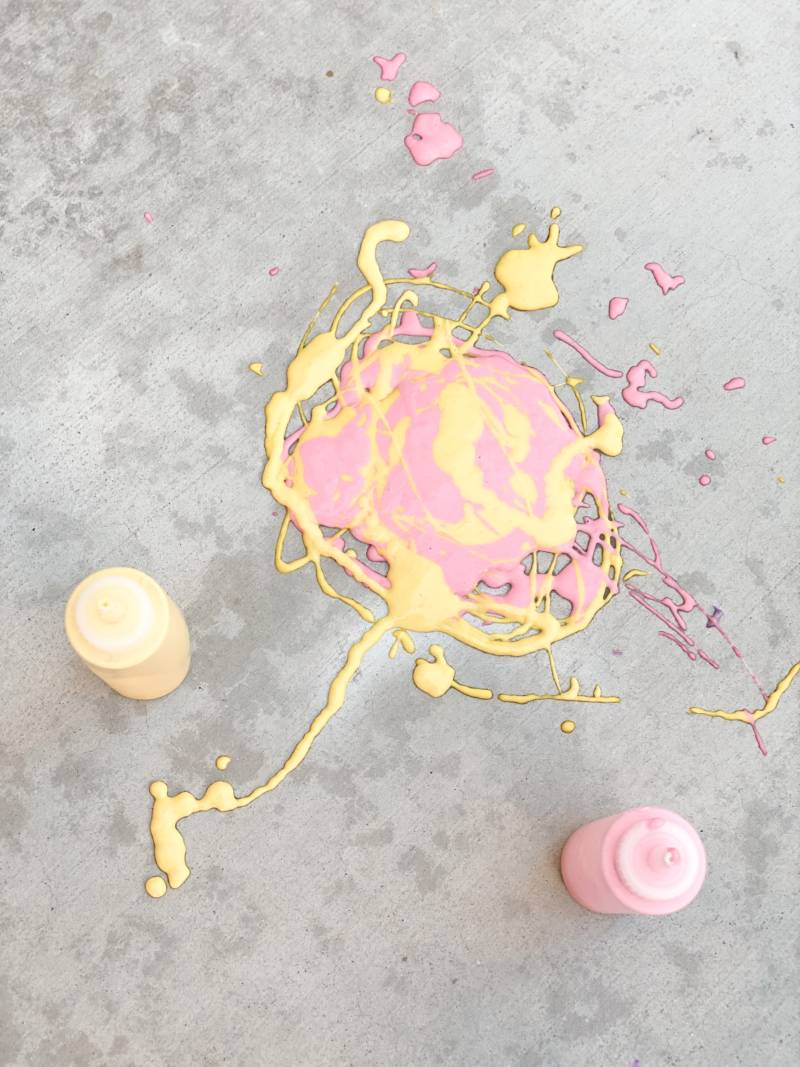
I hope this chalk recipe bring you and your family hours of entertainment and memories! If you try it be sure to tag me on instagram!
Looking for more outdoor activities? Head to these pages!
Kayla
Instagram.com/kaysdailyinsight
Kaysdailyinsight.com
Bria
Instagram.com/bria.snyder
Briasnyder.com
Bekah
https://instagram.com/bekah_rae_
Www.bekahrae.com
Doris
https://mommadoris.home.blog/
https://www.instagram.com/momma_doris_/
Danielle
www.mamallamallama.com
instagram.com/mamallama.llama
XO,
Katelyn


How cute and fun! I like that this is all natural. Because I remember the ants used to eat my chalk growing up and then my cousins and i thought they died. ?♀️?
Ants everywhere are thanking you! ?
This looks like such a good time! What a fun way to reinvent chalk drawings. Easy clean up too since it’s outdoors.
Oh I am doing this! Emily would absolutely love it!’
Oh I am doing this! Emily would absolutely love it! She loves to paint with her chalk.
I really need to try this bc I hate the feeling of chalk haha.
My kids love chalk! This recipe seems great & easy!